How to Repair Drywall Anchor Holes Before Painting
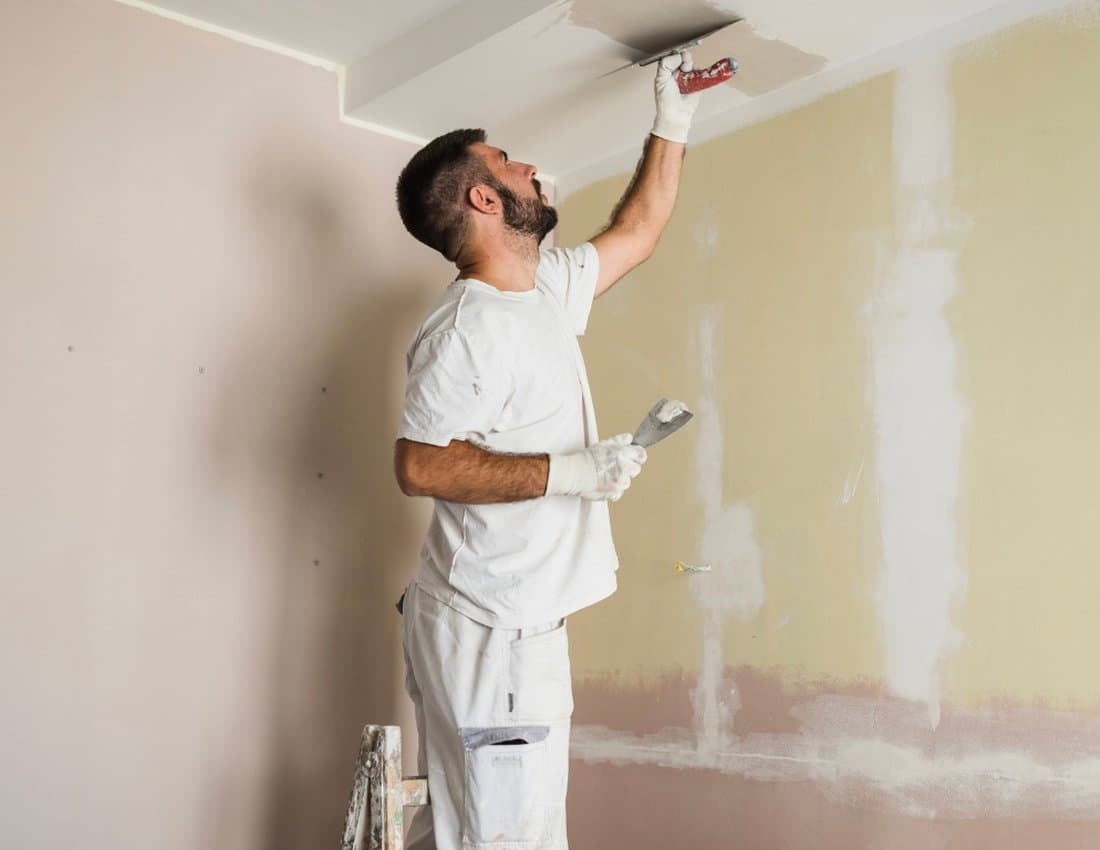
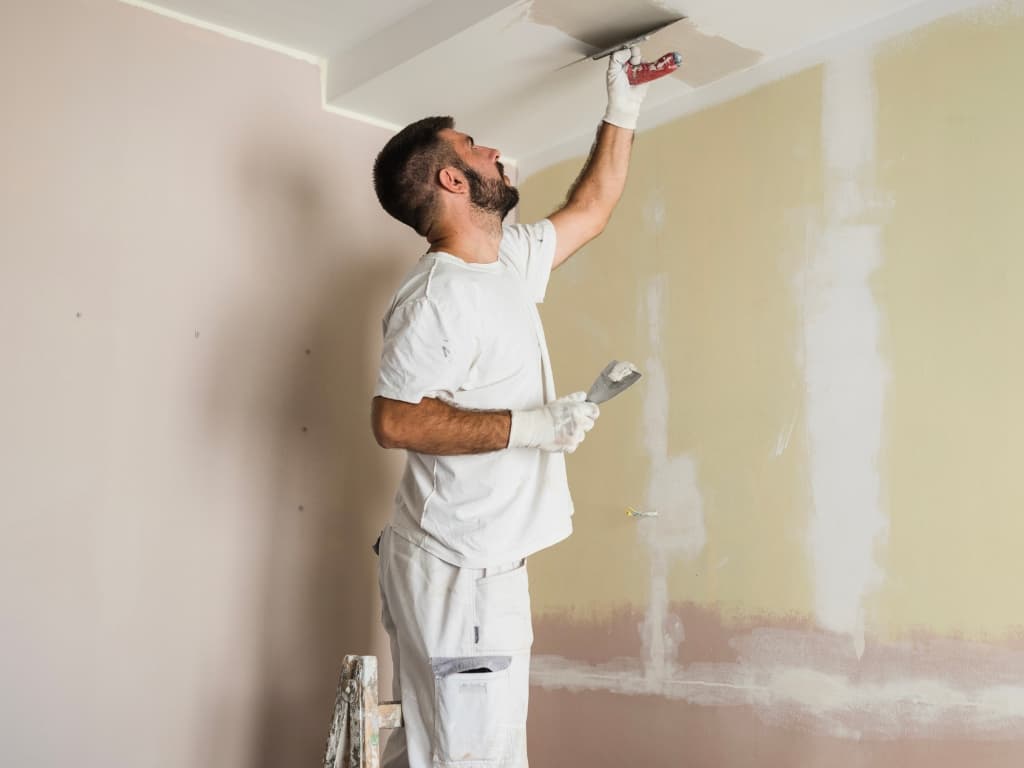
Here's how to repair drywall anchor holes so they disappear under fresh paint. The trick isn't the filler; it's getting the anchor out cleanly and knocking down the torn paper first, so you don't end up with a raised ring that shows through every coat. This guide covers each common anchor type, which filler to use for each hole size, and how to patch drywall before painting so the repair blends into the wall. It's the same prep sequence our crews at Lifetime Custom Painting follow before painting a room in a San Diego home, written for doing it yourself.
Quick answer: Remove the anchor (unscrew, pull or push it into the wall), trim and press down any torn paper, then fill the hole with spackling in thin layers until it's flush. Let it dry fully, sand it smooth with a flat block, spot-prime the patch, and paint. Holes larger than about half an inch need a mesh patch rather than filler alone.
Key Takeaways
- Get the anchor fully below the surface before filling, or the patch will bulge.
- Press a shallow dimple around the hole so filler sits below the wall plane, not on top of it.
- Spackling deeper than 1/8 inch should go on in thin layers, each dried before the next.
- Always spot-prime patches; unprimed filler absorbs paint differently and shows as a dull spot.
- Textured walls need the texture matched before priming, or the smooth patch will stand out.
What Do You Need to Repair Drywall Anchor Holes?
You need a few inexpensive tools, most of which you may already have. A small anchor-hole repair takes about 15 minutes of hands-on work spread across a day of drying.
- Pliers and a screwdriver to remove anchors.
- A utility knife to trim torn paper and anchor flanges.
- A 1.5- to 3-inch putty knife for filling; a 6-inch knife helps on larger patches.
- Lightweight spackling for small holes, or all-purpose joint compound for larger patches.
- Self-adhesive mesh patches for holes bigger than about half an inch.
- A sanding sponge or block, fine grit.
- Primer and your wall paint.
- A damp cloth to remove dust.
If you can, use a spackle with a color-change indicator. DAP's DryDex, for example, goes on pink and turns white when it's ready to sand and paint, which takes the guesswork out of drying.
How Do You Remove Each Type of Drywall Anchor?
Each anchor comes out differently, and forcing the wrong one tears the paper and makes a bigger hole. Identify the anchor first by looking at the head.
| Anchor type | How to remove it |
|---|---|
| Plastic expansion (ribbed sleeve) | Thread a screw in a few turns and pull it out with pliers. If it won't budge, cut the flange flush and push it slightly into the wall. |
| Threaded self-drilling (coarse screw-shaped) | Unscrew it counterclockwise with a screwdriver, slowly, so it doesn't spin and tear the paper. |
| Molly bolt (metal sleeve) | Remove the bolt, then either cut off the flange and tap the sleeve into the wall cavity, or leave it and fill over it if it's recessed. |
| Toggle bolt (spring wings) | Unscrew the bolt; the wings drop inside the wall. The hole left behind is larger, so plan on a mesh patch. |
The U.S. Consumer Product Safety Commission's AnchorIt repair tips take the same approach: pull the anchor with pliers, sand any bits flush, wipe the dust, then fill. Whatever the type, the goal is the same. Nothing should stick out past the wall surface when you're done.
How Do You Patch Drywall Anchor Holes Step by Step?
Fill in thin layers, let each dry fully, and sand flat. Rushing the drying is the most common reason patches crack, sink or show through paint.
- Trim and flatten the edges. Cut away loose paper with a utility knife. Push any fuzzy or raised paper back into the hole with the edge of your putty knife.
- Make a shallow dimple. Press the rounded handle of a screwdriver or putty knife gently around the hole. This sets the damaged area just below the surface so the filler sits flush instead of forming a bump.
- Wipe off dust. A clean surface helps the filler bond.
- Apply the first layer. Press spackling into the hole, then draw the knife firmly across it at a low angle to scrape off the excess. Cross the hole from two directions so there are no air pockets.
- Let it dry fully. DAP's technical data sheet for DryDex spackling says one application is usually enough for repairs less than 1/8 inch deep, deeper repairs need multiple thin layers with full drying between each, and drying takes about one to five hours depending on temperature, humidity and depth of fill.
- Add a second layer if needed. Spackling often shrinks slightly into the hole. Fill the small dip and let it dry again.
- Sand flush. Use a sanding sponge held flat against the wall. Run your fingertips over the spot; you should not be able to feel an edge.
- Wipe away dust with a damp cloth and let it dry.
San Diego's mild indoor temperatures help here, but filler dries slower in a humid bathroom or on a foggy coastal morning, so check it before sanding rather than going by the clock. If the sandpaper clogs or the patch feels cool, it isn't dry yet.
Which Filler Should You Use for Each Hole Size?
Use spackling for small holes and add support as the hole grows. Filler alone can sag or crack across a wide opening.
| Hole size | Best fix |
|---|---|
| Nail or small screw hole (under 1/8") | One pass of lightweight spackling |
| Typical plastic or threaded anchor hole (1/8" to 1/2") | Spackling in two or three thin layers |
| Toggle bolt or torn-out anchor (1/2" to 4") | Self-adhesive mesh patch, then two or three coats of joint compound, feathered out wide |
| Larger than about 4" or crumbling drywall | A cut-in drywall patch; consider a professional |
For the smallest holes, our guide on how to fill nail holes before painting walls walks through the one-pass method.
How Do You Make a Drywall Patch Disappear Under Paint?
Two things make patches show through: texture and primer. Get both right and the repair becomes invisible.
Match the texture first. Many Southern California homes have orange-peel or knockdown wall texture, and a perfectly smooth patch on a textured wall stands out as a flat, shiny spot. Aerosol texture sprays let you mist on a matching pattern. Practice on cardboard, then apply lightly and let it dry before priming. For a deeper look at painting over texture, see how to paint textured walls.
Spot-prime every patch. Spackling and joint compound are more porous than the painted wall around them. Paint soaks into an unprimed patch and dries duller, a problem painters call flashing. A coat of primer over the patch, feathered slightly past its edges, evens out the absorption.
Paint the whole wall, not just the spot. Even with the same can, a touch-up dab often shows a slight sheen or color difference, especially on eggshell or satin finishes. Rolling the full wall corner to corner gives the most even result.
One safety note: if your home was built before 1978, the existing paint may contain lead. The EPA's lead-safe guidance explains why sanding old paint calls for care. Keep sanding to the patch itself, wipe dust with a damp cloth, and avoid dry-sanding large areas of the old finish.
When Should You Call a Pro Instead?
Most anchor holes are a straightforward DIY job. It makes sense to bring in help when the damage is bigger than a few inches, when there are dozens of holes across a room, or when the wall texture is hard to match.
Typical signs it's more than a filler job:
- The drywall around the hole is crumbling, soft or water-stained.
- A heavy TV mount or shelf pulled out and left a crater.
- The patch keeps cracking after you've filled it twice.
- You're repainting the whole room anyway and want the walls prepped in one pass.
If you'd rather hand it off, our drywall repair service covers patching with texture match and paint included in the repair, with a typical drywall patch running $250 to $900 in San Diego County.
Frequently Asked Questions
Can you just paint over drywall anchor holes?
No. Paint won't fill a hole, and the anchor flange or torn paper will still show. Remove the anchor, fill, sand and prime first.
Should you use spackle or joint compound for anchor holes?
Spackling is best for small anchor holes because it's ready to use and dries quickly. Joint compound works better for wider repairs over mesh, where you need to feather the edges out several inches.
Can I leave the anchor in the wall and patch over it?
You can if the anchor sits fully below the surface. Cut off any flange, tap it slightly into the wall, then fill over it as you would a normal hole.
How long should spackle dry before painting?
It depends on the product, the depth and the room conditions. A typical spackling dries in one to five hours, while joint compound over a mesh patch usually needs much longer, often a full day. Wait until it's fully dry, sand, prime, and then paint.
Why can I still see the patch after painting?
Usually the patch wasn't primed, wasn't sanded flush, or doesn't match the wall's texture. Sand, re-texture if needed, spot-prime and repaint the whole wall.
Ready for Walls That Look Brand New?
If you're patching holes ahead of a repaint, finish the prep, prime the spots and step back in good light before the first coat. When you'd rather skip the ladder, Lifetime Custom Painting, a licensed San Diego painting contractor (CSLB #1002304), washes, patches, sands and caulks walls before painting as part of every interior painting project. Book a free estimate or call (619) 591-9936.
Thinking about a project in San Diego?
Luis Rodriguez and the team give free, fixed written estimates — no pressure, no obligation.
- Licensed & insured
- 4.9★ · 291+ reviews
- 10% military discount