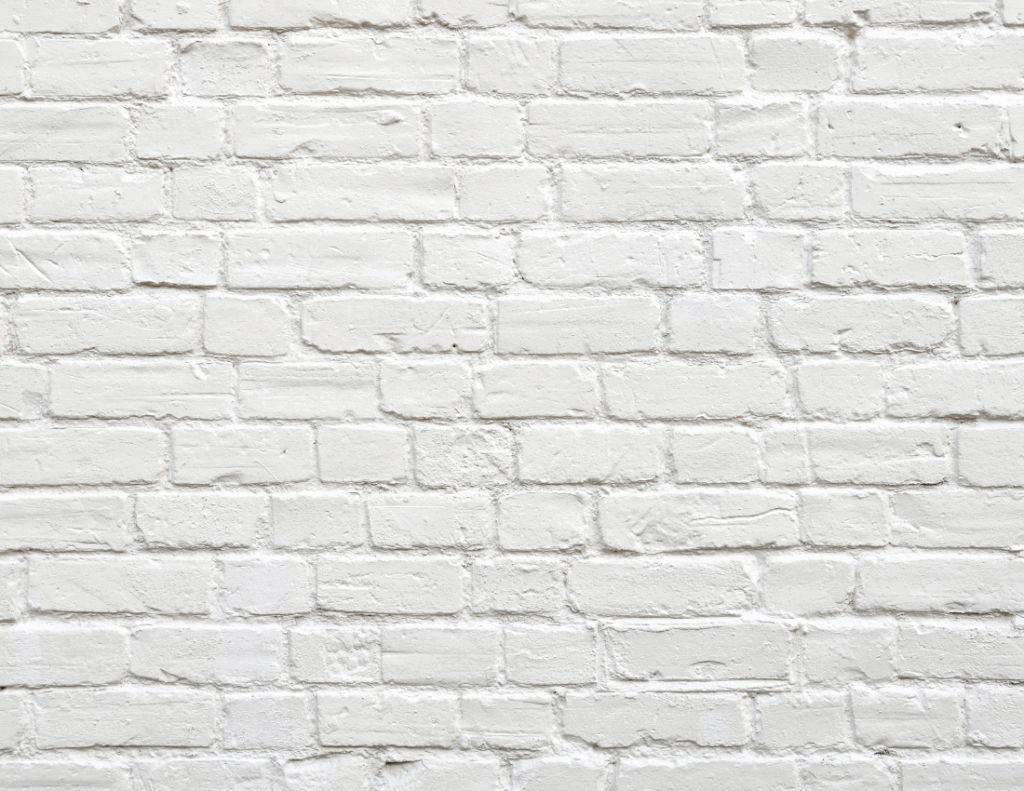
Textured walls are common across homes in New Encinitas, from older stucco-style builds near the coast to newer knockdown finishes in suburban remodels. If you’ve been wondering how to paint textured walls without leaving behind a streaky, patchy mess, you’re not alone.
The process looks simple, but painting a textured wall is more involved than it seems. Using the wrong paint roller, missing a step with the primer, or choosing the wrong finish can leave uneven coverage or drips that harden into crusty ridges. Not fun to look at, and even worse to fix.
So how do professional painters get that clean, smooth finish even on heavily textured walls? The trick is in the prep, the tools, and how the paint is applied.
Let’s walk through what actually works, and what’s often done wrong so your textured walls end up looking polished, not patched.
Key Takeaways:
- Use a thicker nap paint roller to reach deep textures.
- Prep your wall with vacuuming, taping, and patching for best results.
- Always apply coats of primer before painting a textured surface.
- Eggshell or satin finishes work best for hiding flaws and cleaning up.
- Paint in sections using the right technique to avoid roller marks or drips.
What Makes Painting Textured Walls So Tricky?
Painting a textured wall is very different from painting smooth drywall. Textures like orange peel, knockdown, and popcorn have ridges and dips that standard paint rollers can’t always reach. This leads to:
- Missed spots in deeper grooves
- Uneven coverage from too-light coats
- Paint buildup that leads to drips or sagging
- Roller marks that won’t blend in once dry
You might think pressing harder with the paint roller solves the problem, but that only makes it worse. The paint gets squeezed out and pools up instead of soaking in evenly. We’ve seen it all, especially when fixing jobs that start with painting mistakes like these.
Choosing the Right Tools for the Job
If you’re serious about learning how to paint textured walls the right way, it starts with your tools.
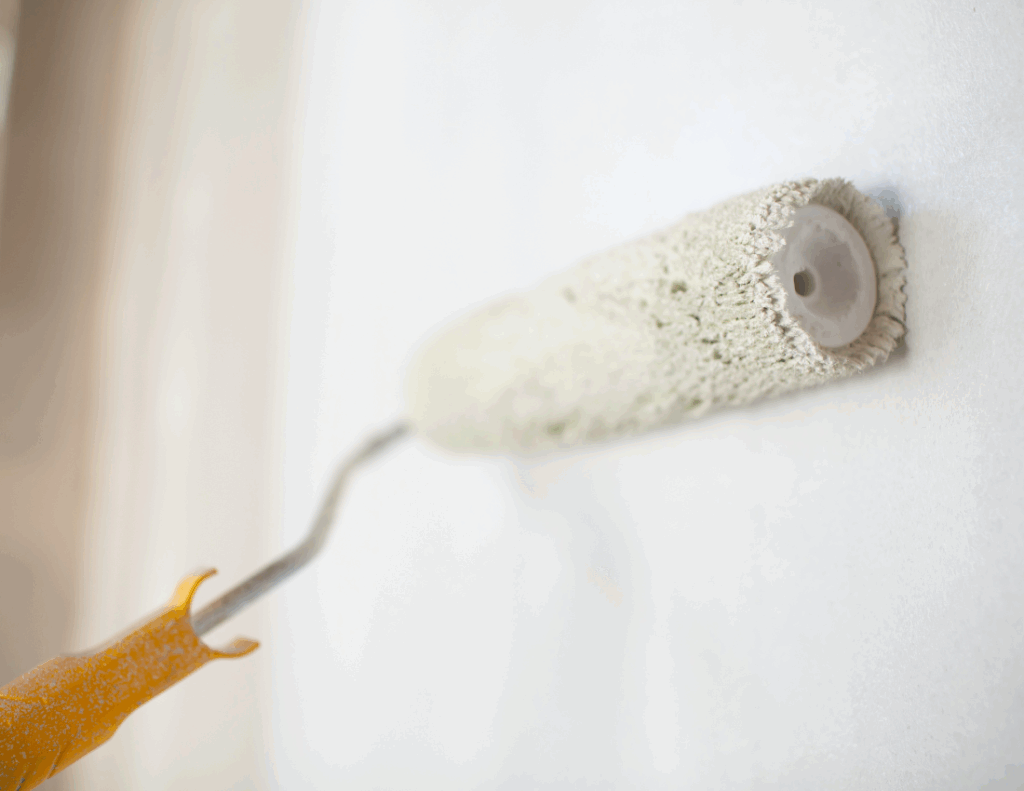
- Use a thicker nap roller. For most textured walls, a 1/2-inch nap roller works well. For heavy textures, like popcorn or deep knockdown—a 3/4-inch nap gives better coverage. This allows the roller to press paint into crevices instead of skating over them.
- Avoid foam rollers. They’re too smooth for textured surfaces and leave behind uneven coverage. A quality paint roller designed for rough surfaces does a better job of filling in texture while keeping a clean finish.
- Pair with a sturdy roller cage. A wobbly roller frame can’t hold up to the pressure needed to push paint into textured areas, especially near the ceiling or baseboard.
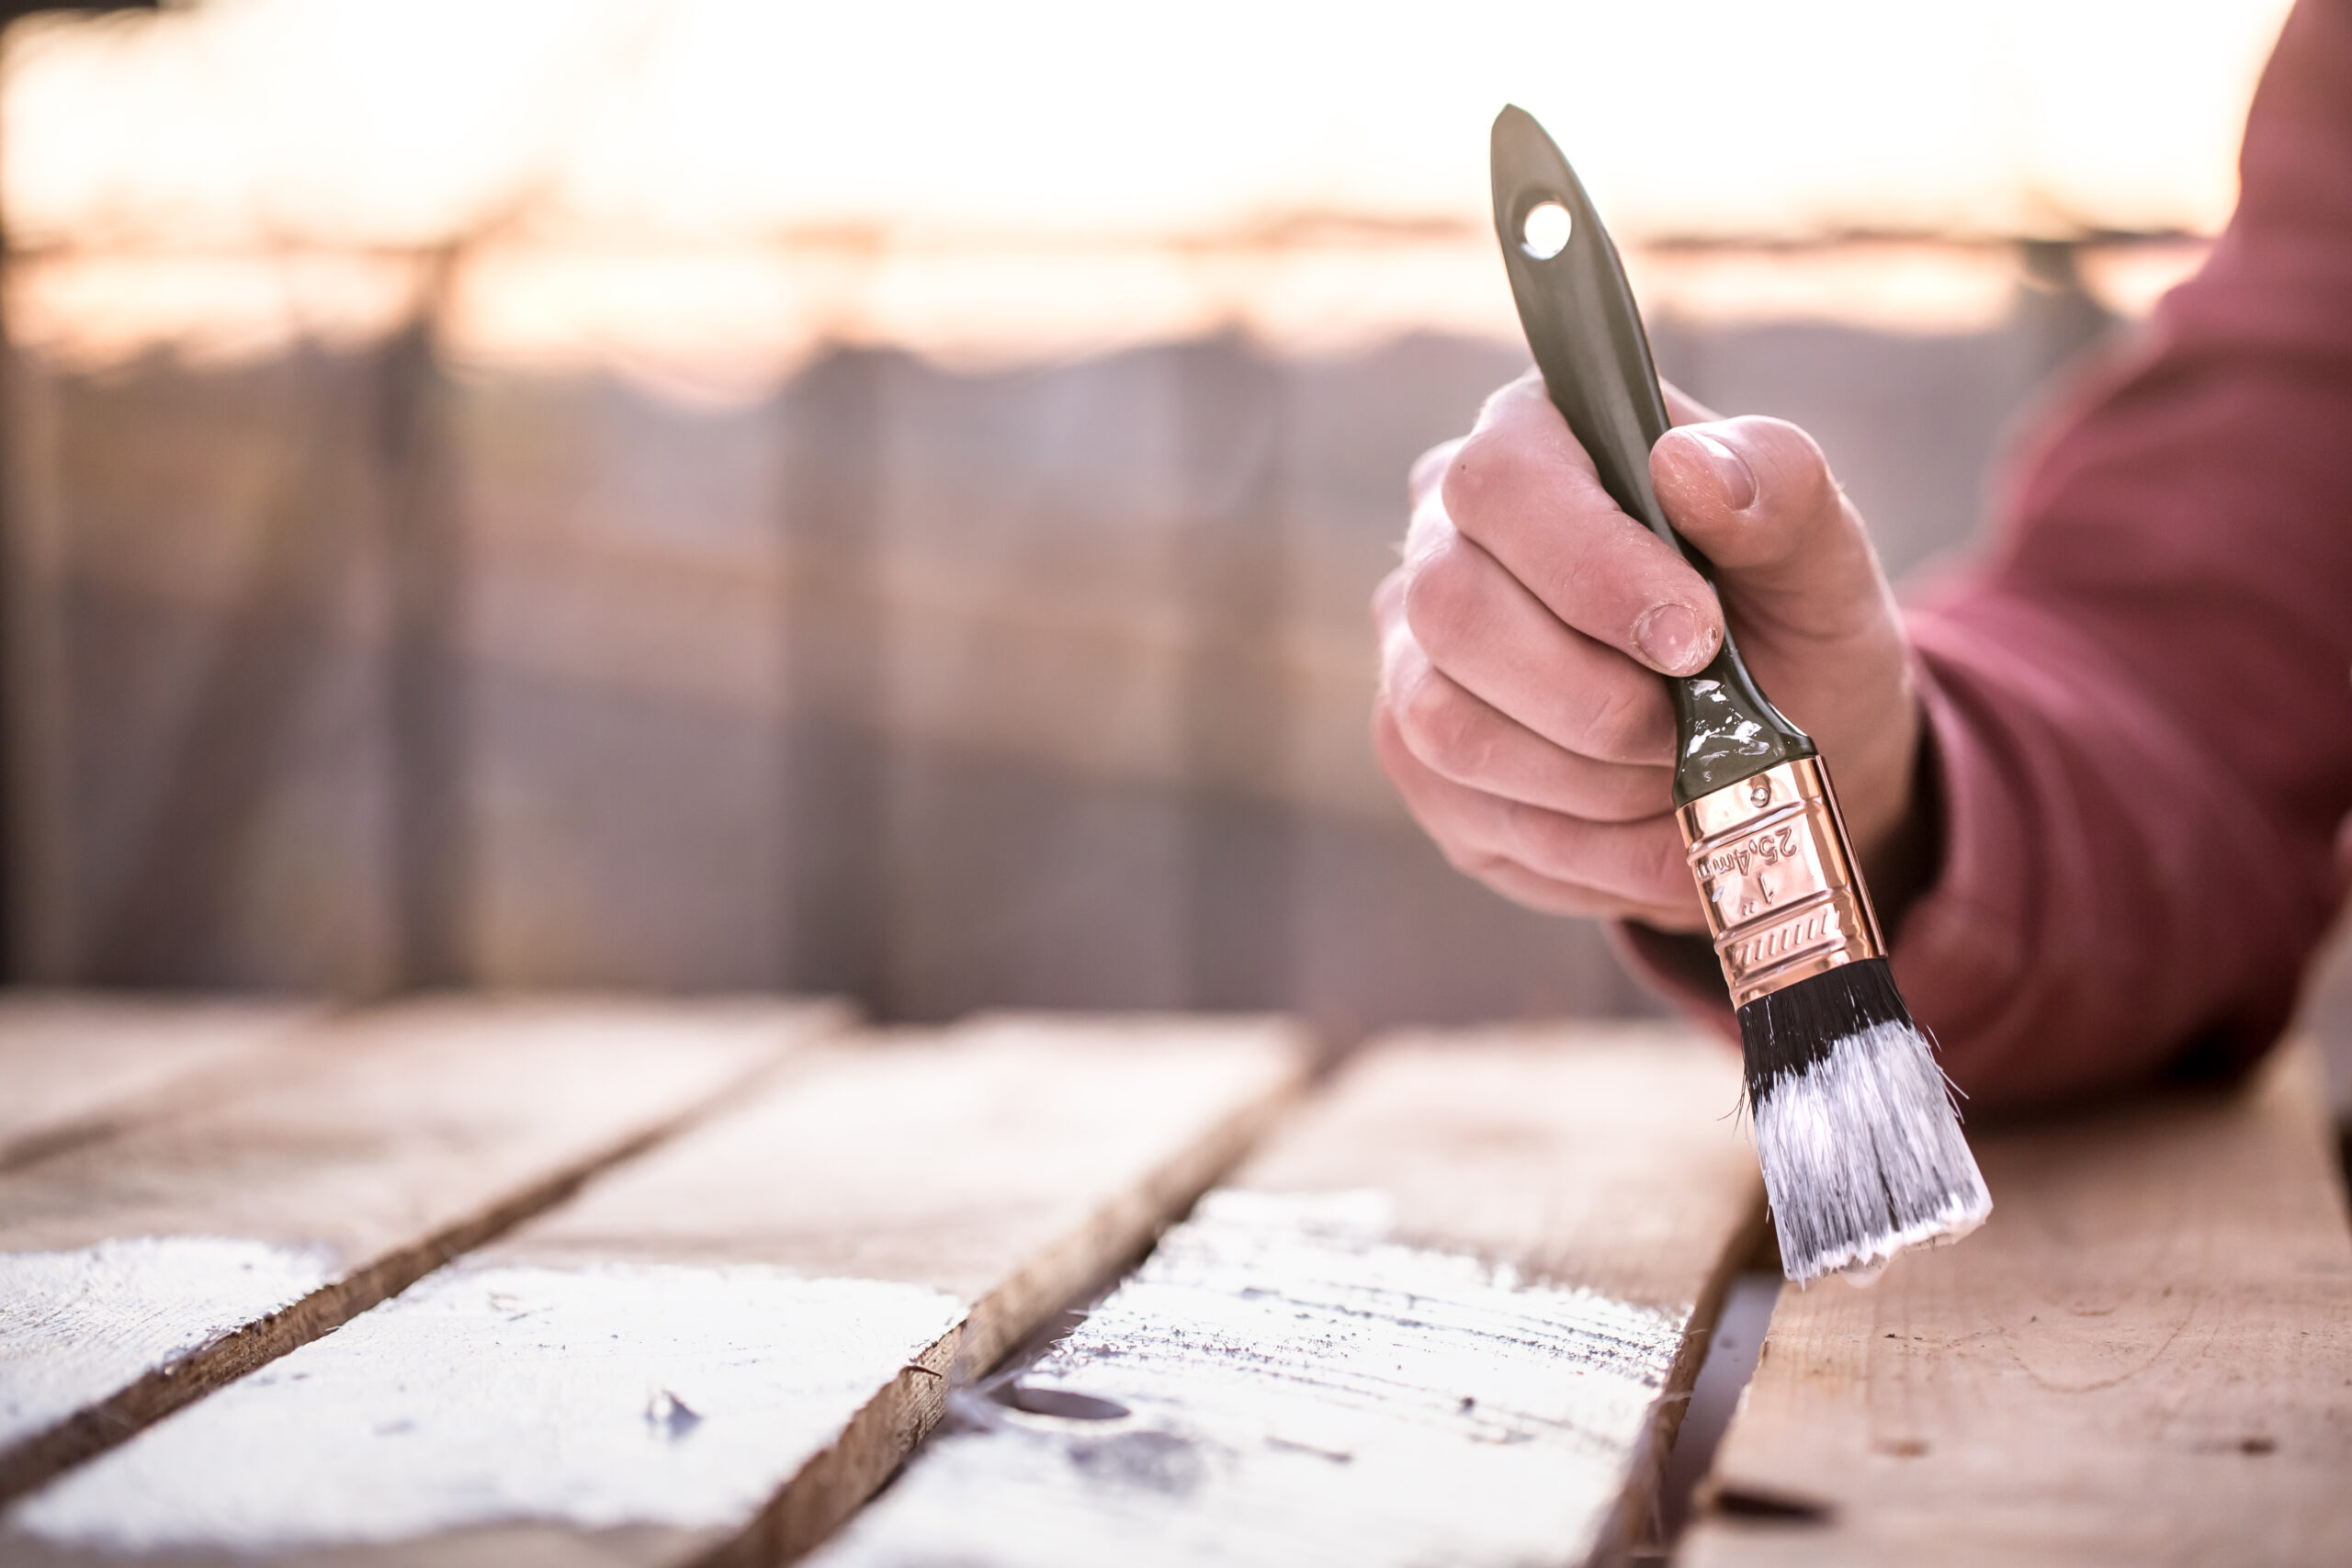
- Always use a quality brush for cutting in edges around trim, corners, outlets, and switches. We recommend a 2-inch angled brush for better control.
Prep Isn’t Optional—It’s the Whole Game
Painting textured walls starts long before the paint ever hits the wall.
Dust and buildup hide deep in the crevices of textured surfaces. Even if the wall looks clean, it probably isn’t. Skipping this part leads to poor paint adhesion and flaking later.
Here’s the prep checklist that professional painters in Encinitas swear by:
- Vacuum the wall with a brush attachment or wipe it down with a clean, damp sponge
- Remove switch plates and outlet covers
- Fill small holes or gouges using putty or joint compound
- Sand smooth any repairs (lightly—don’t flatten the texture)
- Use painter’s tape to mask baseboards, trim, and nearby walls
We also recommend applying one or two coats of primer. This gives your topcoat a smooth, even surface to cling to, and prevents color blotchiness or uneven absorption.
Primer and Paint: What Works Best on Texture?
For textured surfaces, stick to a latex-based primer and interior paint. Latex paint has better flexibility and adhesion than oil, especially over drywall, plaster, or stucco textures.
Don’t just use any finish, though. Glossy paint can amplify surface imperfections, while flat paint is too absorbent and hard to clean. We recommend eggshell or satin for most rooms. If you’re painting a high-traffic kitchen or bathroom, satin holds up better to moisture and wipes clean without a fight.
Choosing the right paint sheen makes a big difference in how your final coat looks and performs over time.
Applying Paint to Textured Walls: Step-by-Step
With your tools ready and primer applied, here’s how professional painters in Encinitas apply paint to textured surfaces:
- Pour the paint into a lined tray and load your roller evenly. Don’t overload—just coat the roller evenly without dripping.
- Work in small sections (about 4-by-4 feet). Roll vertically, then horizontally to make sure the paint fills the texture from all angles.
- Don’t press too hard. Let the roller do the work. For deep texture, you can do a second pass at a slight angle.
- Use your brush to fill in the edges where the roller can’t reach.
- Check each section for drips before moving on.
One overlooked step: Remove painter’s tape before the paint dries completely. If you wait too long, it can peel the paint or leave a jagged edge.
If you’re not sure how much paint you’ll need for a project like this, our paint calculator can help you estimate based on wall size, number of coats, and surface texture.
Texture-Specific Tips That Actually Help
Painting a popcorn ceiling or textured ceiling? Gravity’s not your friend. Use a thicker roller and paint in shorter passes. A lightweight extension pole also helps reduce strain and gives you better control.
Working with knockdown texture, orange peel, or faux finishes like comb or mud?
- Keep a putty knife on hand to clean up edges or unexpected drips quickly.
- Dab into deeper grooves with a brush if the roller misses a spot—but don’t overdo it or you’ll create an uneven patch.
- Use a sprayer for large walls with deep texture, but only if you have experience and the right prep setup with plastic and tape.
For surfaces near water sources like kitchens or bathrooms, apply an extra layer of protection using moisture-resistant primer. And remember: textured walls hide imperfections, but only when the paint job isn’t one of them.
Final Thoughts and Next Steps
Knowing how to paint textured walls makes all the difference between a room that looks clean and intentional—and one that feels like a rushed weekend project. The prep, the tools, and the technique all play a role.
The texture may hide wall flaws, but it highlights application mistakes. That’s where experience comes in. Working with our professional painters in Encinitas means getting the job done right the first time.
Let’s recap the essentials:
- Use the right nap roller for your specific wall texture
- Prep thoroughly: clean, patch, and tape everything
- Always apply coats of primer before painting
- Choose a satin or eggshell finish depending on the room
- Apply paint in small sections, and don’t overwork the roller
Here’s How We Can Help You Paint Textured Walls the Right Way:
- Free in-home color and texture consultation
- Clean, thorough prep including taping, vacuuming, and wall patching
- Use of high-quality primer, latex paint, and tools
- Skilled application to avoid uneven coverage or drips
- Efficient cleanup and protective finishes for lasting results
Serving Sorrento Valley, Spring Valley, Torrey Pines and the surrounding areas. Call us at 619-389-2118 for a FREE estimate.
Let’s make your walls look like they were done right the first time!