How many coats of primer do I need?
In Carlsbad, things like ocean air, heat, and older homes make prep work even more important. Applying the right number of coats can be the difference between a clean, smooth finish and one that starts peeling before the season changes.
One coat might work in certain cases. Two? Usually a safe bet. But sometimes, especially with tough surfaces or water stains, three coats make more sense.
This blog breaks it all down—by surface type, room condition, and real-life painting situations. Whether you’re tackling new drywall, stained wood, or a mildew-prone bathroom, we’ll help you figure out exactly what you need before the color even hits the wall.
Key Takeaways:
- How many coats of primer do I need? New drywall and raw wood usually need two coats of primer to prevent uneven color and help with adhesion.
- Bathrooms and moisture-prone rooms often require three coats to seal the surface and resist mildew.
- For big color changes like dark to light—apply two coats of primer, and consider tinting it to match the new paint.
- Stain-blocking primer is best for ceilings with water damage or areas with visible stains or smoke.
- Prep matters: clean surfaces, sand glossy spots, and spot-prime patched areas for best results.

Primer rules depend on what you’re painting
Different surfaces hold paint in different ways. That’s where porosity, stain resistance, and adhesion all come into play. Here’s how to think through it:
Drywall
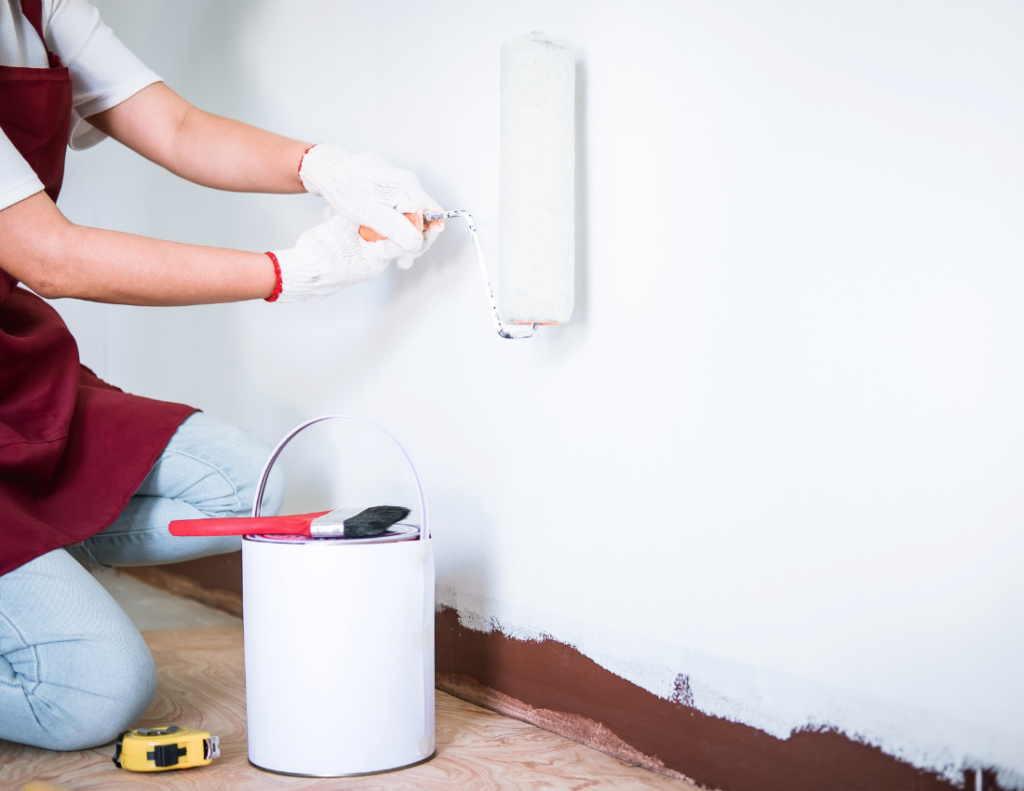
New drywall is like a sponge. Between the raw paper and joint compound, it soaks up primer fast. To avoid uneven color and blotchy spots, plan on two coats. It helps seal the surface and gives your latex paint something to grip.
Wood
Wood, especially bare wood or anything that’s been stained is tricky. The natural tannins can bleed through, and knots might peek out even after painting. For this reason, most professional painters in Carlsbad recommend at least two coats of primer, possibly three for furniture, trim, or older pieces. Sanding between coats improves adhesion and helps reduce grain texture.
Plaster and masonry
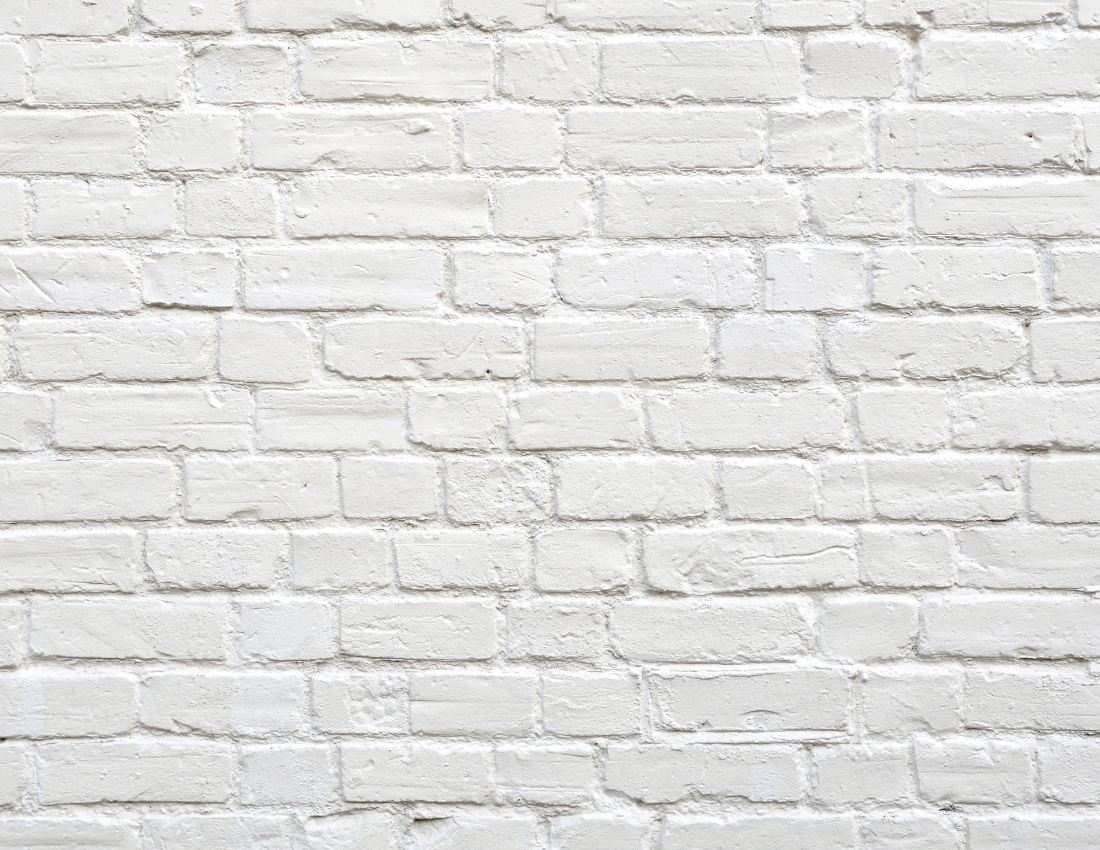
Porous surfaces like brick, stucco, concrete, and plaster tend to absorb primer unevenly. If the wall has had water damage or mildew before, that’s another reason to apply extra coats. A stain-blocking primer is best, with two to three coats to help prevent peeling or flaking down the road.
Metal
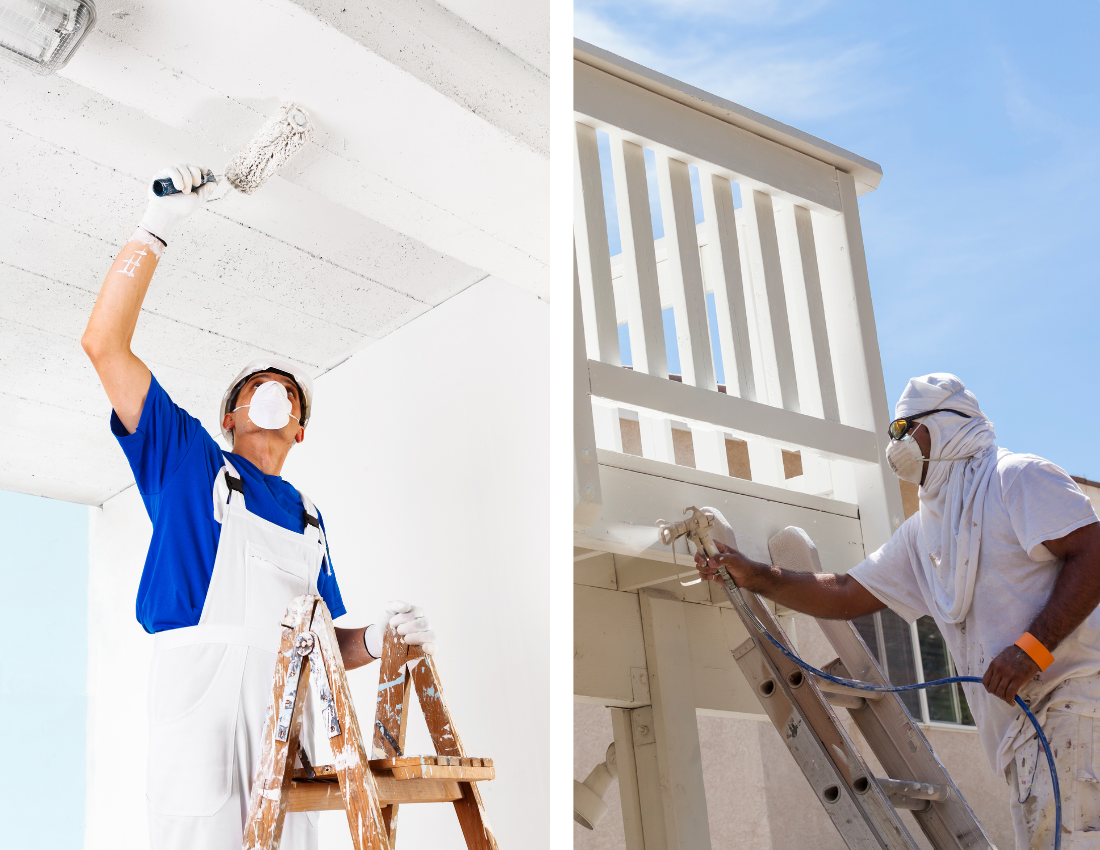
Metal surfaces like garage doors or railings need rust-inhibiting primer and a dry surface. If there’s flaking or rust, it should be sanded first. Usually, two thin coats with a brush or sprayer will work best. And yes, metal is sensitive to heat, so avoid painting under direct sun.
Moisture-prone areas need more attention
If you’re working on a bathroom, laundry room, or kitchen, moisture is going to be part of the problem. Even if you can’t see mold or mildew, humid air affects how primer sticks to surfaces. That’s especially true on ceilings and walls near water.
In these areas, it’s smart to apply three coats of primer:
- One to bond to the surface
- One to seal in any past issues
- One to create a clean, even finish for the top coat
This helps fight future mildew, and if you’re painting with a light non-toxic interior paint or switching from oil to latex, it gives you a fresh base.
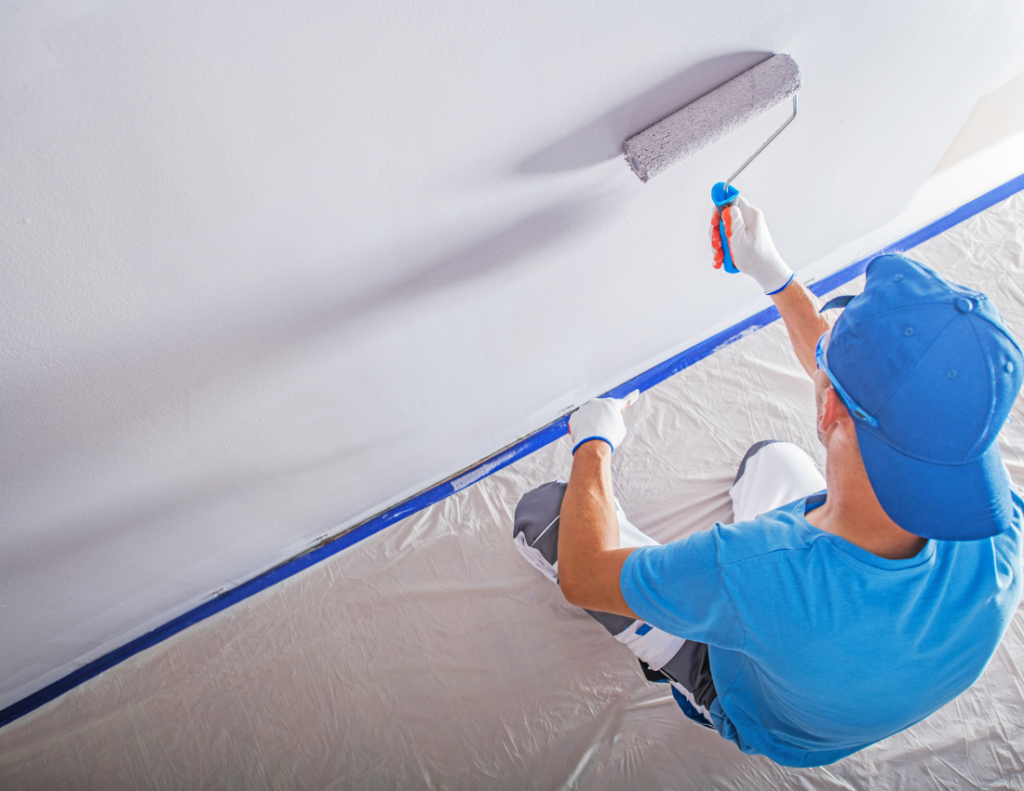
And speaking of ceilings, if there’s ever been a leak or water stain, use a stain-blocking primer. Apply at least two coats, sometimes three, and let them dry fully. Skipping this step almost always means the stain will show back through.
Changing color? Add another coat
Going from navy to cream? Or covering up a fire-engine red room? That kind of color shift usually needs more primer. Even if it looks covered after one coat, the color underneath can still bleed through once the light hits it.
At least two coats of primer are usually needed when making a big change. Some professional painters in Carlsbad even tint the primer to match the new paint color to help with coverage. This saves money in the long run since you’ll likely need fewer coats of paint.
This rule also applies if you’re repainting furniture or cabinetry with a big color change. For help with paint type, application tips, or even how to test paint colors in small rooms, check out our interior painting guide for more on technique and product choices.
Proper prep matters as much as primer
Primer can’t do all the work for you. If your walls are covered in dust, grease, or have uneven spots from repairs, your finish coat won’t stick well—and won’t look good either.
Here’s what should always happen before you pick up a brush:
- Wipe down the walls to remove dust, mildew, or grease.
- Sand shiny surfaces with sandpaper so the primer sticks.
- If you patched holes with joint compound, let it dry completely before sanding.
- On wood surfaces or furniture, sanding between coats improves adhesion and smoothness.
- And don’t skip over corners or baseboards—spot priming those areas gives your paint a clean edge.
If you’re working with older homes in Carlsbad, especially near the beach, check for peeling layers or oil-based paint underneath. Switching to latex? You’ll need a bonding primer to prevent peeling or bubbling.
Quick primer reference: How many coats do you need?
Let’s simplify things with a rough guide—this is how most professional painters in Carlsbad approach it:
- New drywall: 2 coats
- Raw or stained wood: 2–3 coats
- Dark-to-light color change: 2 coats (tinted primer if possible)
- Moisture-prone rooms: 3 coats
- Previously painted walls: 1 coat, plus spot priming
- Stained or damaged ceilings: 2–3 coats of stain-blocking primer
- Metal or rust-prone surfaces: 2 coats of rust-inhibiting primer
Always check if the first coat looks uneven or too absorbent. That’s your cue for a second or third.
Final Thoughts: How many coats of primer do I need in Carlsbad?
If you’re painting a smooth, already-painted surface in a similar color, one coat might be fine. But when you’re working with raw wood, drywall, or a bathroom ceiling that’s seen some steam, that changes the story.
In most Carlsbad homes, two coats give you better protection against heat, mold, and fading—and three coats might be your best friend if stains or mildew are in the mix.
Whether you’re freshening up a room, restoring furniture, or tackling home painting projects with tricky surfaces, primer is your foundation. Start strong, and your finish will thank you.
Here’s how Lifetime Custom Painting can help you get it right from the start:
- Free color consultations tailored to your home’s style
- Surface prep that includes sanding, cleaning, and patching
- Use of high-quality products like Behr and Sherwin-Williams
- Primers matched to your specific surface—drywall, wood, masonry, or metal
- Clean, reliable work from experienced painters who respect your time and space
Serving Carlsbad, Sorrento Valley, Spring Valley, Torrey Pines, and the surrounding areas. Call us for your FREE estimate today!
Primer FAQs
How do I know if I need a second coat of primer?
If the first coat looks patchy, soaks in quickly, or leaves the surface dull and uneven, you likely need a second coat. This is especially true for porous surfaces like drywall, wood, or anything you patched with joint compound.
Does primer have to be perfect?
Not exactly, but it should fully cover the surface and feel smooth. You don’t need a final paint finish, but visible streaks, shiny patches, or missed spots can affect how well your latex or oil paint sticks. A quick sand between coats can help clean things up.
Can I paint over primer the same day?
Yes, most primers dry within 1 to 4 hours. However, if you’re in a humid or cool area like parts of Carlsbad, drying can take longer. Make sure it’s completely dry to the touch and doesn’t feel tacky before painting over it.
Should I sand after primer?
In many cases, yes. Sanding after primer helps smooth out imperfections and gives your final coat a better surface to stick to. It’s especially useful on furniture, trim, or rough wood grain that needs a clean finish.


